
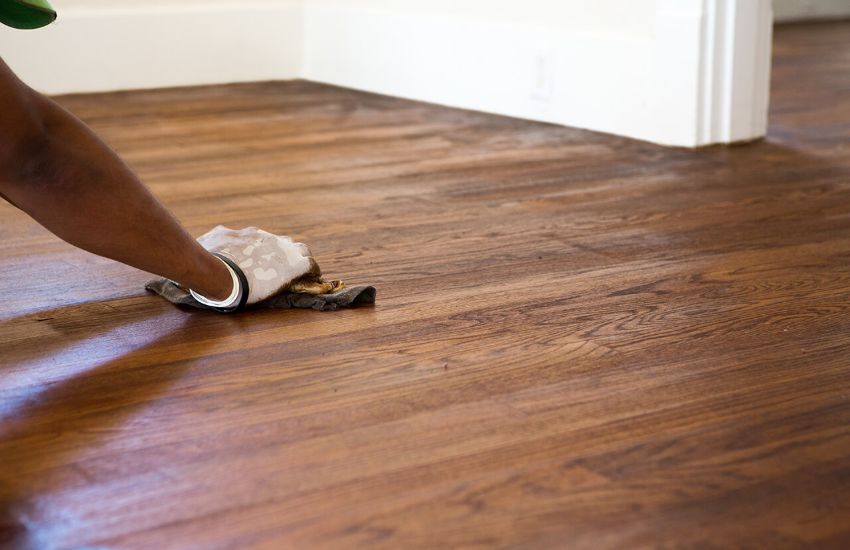

Luxury vinyl plank flooring has earned its dominant position in modern home design thanks to its waterproof properties, realistic wood textures, and forgiving floating-floor installation. The interlocking click-lock mechanism allows planks to snap together without glue or fasteners, creating an expansive surface that expands and contracts naturally. However, that interlocking design becomes a serious liability when a single board sustains a deep gouge from dragged furniture, dropped cookware, or trapped construction debris.
If the damaged plank sits in the dead center of an open living room, the traditional fix seems daunting. Dismantling the floor from the perimeter wall means removing baseboards, pulling quarter-round molding, and disassembling dozens of rows of perfectly installed flooring just to access one board.
Fortunately, there is a far more efficient method. Through a surgical cut-and-replace technique, you can extract a ruined vinyl plank from the middle of a room, modify a donor plank to fit the existing void, and secure it permanently without disturbing the surrounding floor.
Assessing the Damage: Repair vs. Replacement
Before breaking out heavy cutting tools, evaluate whether the plank genuinely warrants complete surgical removal. Luxury vinyl planks are composed of multiple layers: a resilient backing, an engineered rigid core—typically Stone Plastic Composite (SPC) or Wood Plastic Composite (WPC)—a high-definition decorative film, and an exterior clear polyurethane wear layer.
Surface-level scratches that penetrate only the clear wear layer can frequently be concealed without removing the board. Minor white abrasions often respond well to specialized vinyl floor friction cleaners, scratch concealing polishes, or a careful pass with a low-temperature heat gun to relax the distressed polymer chains. Color-matched repair kits with meltable wax or acrylic filler can also camouflage shallow gouges on textured, multi-tonal wood designs.
However, if a gouge cuts completely through the decorative print film, exposes the white or gray core material, or breaks the structural joint along the board seam, cosmetic fillers will look obvious and collect dirt over time. In these scenarios, a full plank replacement is the only lasting professional solution.
Tool Checklist and Work Area Preparation
Executing a seamless drop-in replacement requires precision cutting and clean adhesion. Rushing through extraction risks snapping the fragile locking profiles of neighboring boards, transforming a single-plank repair into a multi-plank failure.
Gather the following tools before making your initial cut:
-
A spare, matching donor plank from your original installation attic stock
-
An oscillating multi-tool equipped with a clean plunge-cutting blade, or a circular saw with an adjustable depth stop
-
A heavy-duty utility knife with fresh trapezoid or hook blades
-
A sharp, one-inch wood chisel and a rubber mallet
-
Blue painter’s tape to protect adjacent finishes
-
A shop vacuum with a narrow crevice tool
-
A high-strength vinyl floor seam sealer, PVC solvent weld, or structural polyurethane construction adhesive
-
Multiple flat weights, such as heavy books or sealed boxes of ceramic tile
Before cutting, outline the damaged plank with wide painter’s tape, pressing the tape firmly along the seams of the neighboring boards. This simple step protects the surrounding wear layers from accidental tool slips while clearly defining the perimeter of your surgical field.
The Relief Cut: Extracting the Damaged Core
Interlocking floating floors cannot simply be pulled upward from the center; the mechanical tongues and grooves hold the boards under tension. To remove the damaged plank, you must relieve that internal tension by cutting out its center.
Making the Internal Envelope Cuts
Using your oscillating multi-tool or a depth-regulated circular saw, set the blade cutting depth precisely to the thickness of the plank. If your plank is five millimeters thick, adjust the blade so it cuts through the plank without scoring the acoustic underlayment or the subfloor below.
Make two parallel longitudinal cuts down the length of the damaged plank, keeping each cut roughly one inch away from the long outside seams. Next, make four diagonal cuts extending outward from the center lines toward each of the four corners, stopping approximately half an inch short of the actual joint seams. This creates an envelope relief pattern across the face of the board.
Collapsing the Core Inward
Take your utility knife and score through the remaining half-inch corner connections by hand to avoid overshooting the joint with a power tool.
Once the cuts are complete, use your chisel and mallet to lift the rectangular center section out of the floor. With the center mass removed, the structural tension vanishes. You can now grasp the remaining perimeter strips of the damaged board and pry them inward toward the empty center channel. Working slowly around the perimeter, tilt and disengage the factory tongues and grooves from the surrounding planks without tearing or lifting the adjacent boards.
Once all fragments are removed, thoroughly vacuum the entire opening. Any lingering debris, dust, or microscopic core shavings caught within the neighboring groove channels will prevent the replacement plank from seating flush.
Modifying the Donor Plank for Drop-In Fit
An unmodified click-lock plank cannot drop directly into an enclosed rectangular void because the opposing tongue and groove profiles physically block top-down insertion. To make the new plank fit, you must carefully modify its underside locking geometry.
Place your matching donor plank face down on a clean, flat work surface. Inspect the four edges to identify the primary tongue profiles and groove channels.
-
On the long tongue edge and short tongue edge, leave the profiles completely intact. These will slide under the existing grooves of the adjacent installed floorboards.
-
On the groove edges, examine the profile. The groove consists of an upper decorative lip and a lower supporting lip that locks underneath the neighboring tongue. Using a sharp utility knife, slice off the lower locking lip along the long groove edge and the short groove edge.
Removing this thin bottom ledge converts the locking groove into a clean, drop-down lap joint. Test-fit the modified donor plank dry into the floor opening without glue. Slide the intact tongue edges into their respective grooves at an angle, then push the modified edges down flat. The plank should sit flush with the surrounding floor, with seamless, tight joint lines. If you feel any resistance or notice high spots, remove the plank and trim away any remaining plastic burrs with your utility knife.
Adhesive Bonding and Final Curing
Because the mechanical lock on the modified groove edges has been removed, a dedicated chemical bond must take over to hold the replacement plank permanently level and prevent edge peeling.
Lift the dry-fitted plank out of the opening. Using a professional vinyl floor adhesive or a specialized PVC cold-weld seam sealer, apply a continuous, thin bead of glue directly along the top of the exposed tongues on the floor. Avoid applying excessive adhesive; heavy puddles will squeeze upward through the microscopic joint lines and mar the surface of the floor.
Reinstall the donor plank by inserting the long tongue into the adjacent floor groove at a thirty-degree angle. Push the short tongue into the end joint, then press the modified drop-edges firmly down into the adhesive bead. Use a hand roller or a clean wooden block tapped lightly with a rubber mallet to ensure full surface contact across the entire perimeter.
If any adhesive seeps up through the seams, wipe it away immediately using a clean microfiber cloth dampened with water or mineral spirits, depending on the adhesive manufacturer’s specifications.
Finally, distribute balanced weight across the entire board. Place flat, rigid boards over the repair area and stack twenty to thirty pounds of weights directly on top. Avoid placing a single heavy, localized weight in the center of the plank, as this can cause the outer edges to flare upward while the adhesive sets. Leave the weights in place for a minimum of twenty-four hours to allow the adhesive to achieve full cure strength before walking on the area.
Approached with patience and the right relief cuts, replacing a ruined vinyl plank eliminates the need for room-wide demolition, preserving your baseboards, your budget, and the structural integrity of your floor.

Comments are closed.